Accessing report list
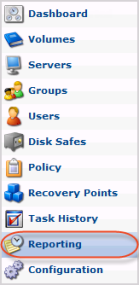
To access the report list, click "Reports" in the main menu.
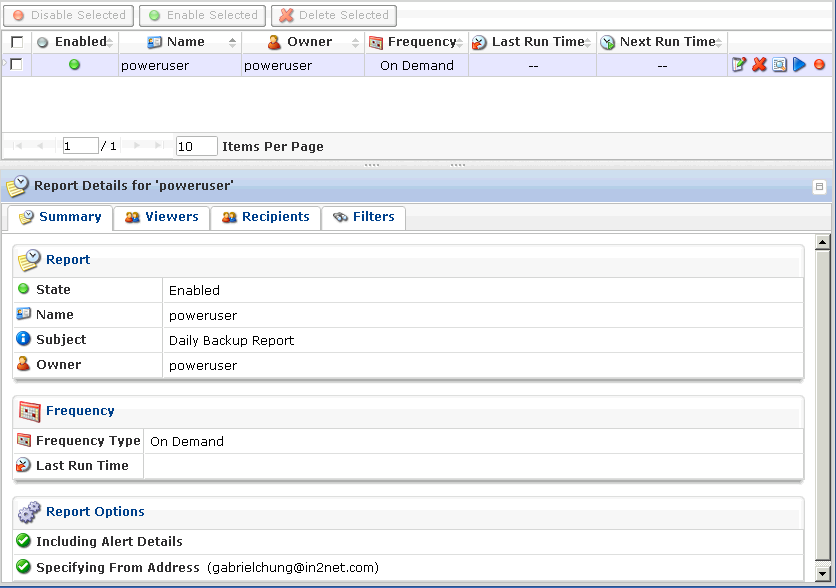
The right side of the screen contains two sections. The top part shows the Report List and bottom part where it says "Report Details for 'poweruser'" shows the Report detail.

In the Report list, there are numbers of columns.
- Checkbox - allows you to select the item(s) in the list
- Enabled - graphically indicates the Report status(Enabled or Disabled). Enabled shows as green icon. Disabled shows as red icon.
- Name - name of the report
- Owner - the report owner's name
- Frequency - shows the recurrence selected for running the report. Settings are On Demand, Minutely, Hourly, Daily, Weekly, Monthly or Yearly)
- Last Run Time - display date and time when the report was last generated.
- Next Run Time - display the date and time the next report will be generated.
- Actions - contains icons which provide access to actions over the corresponding report.
- Edit - allows you to access the report properties window in order to change the properties
- Delete - permanently remove the report
- Preview - open the last report generated in a preview window
- Run Now - generate the report and send it to specific emails
- Disable/Enable - make the selected report disabled. The report will not be generated at scheduled time.
Summary tab - contains 3 sections
- Report
- State - indicates the Report status (Enabled or Disabled). Green icon represents Enabled. Red icon represent Disabled
- Name - name of the report
- Subject - the subject specified in the Report properties
- Owner - shows the report owner
- Frequency
- Freuqnecy Type - shows the recurrence selected for running the report. Settings are On Demand, Minutely, Hourly, Daily, Weekly, Monthly or Yearly)
- Last Run Time - display date and time when the report was last generated.
- Next Run Time - display the date and time the next report will be generated.
- Report Options
- Sending Empty Report - Graphically displays whether the option of "Sending Empty Reports" is activated for the selected Report. The green icon indicates the enabled option.
- Including Alert Details - Graphically shows whether the option of "Including Alert Details" is activated for the selected Report. The green icon indicates the enabled option.
- Specifying From Address - Shows the address that is displayed in the from field of the recipient's mail.
Viewers tab -
Recipients tab - shows the list of recipients which the generated reports will be sent to
Filters tab - shows Filters applied to the Report. The filters allow you to specify the information which will be included in the generated Report.
Related Articles
No related articles were found.Attachments
No attachments were found.Article Details
Last Updated
30th of August, 2013


 The article has been updated successfully.
