Adding a new backup policy
To create a retention policy, select "Policy" from the main menu(1), then select "Create New Policy"(2).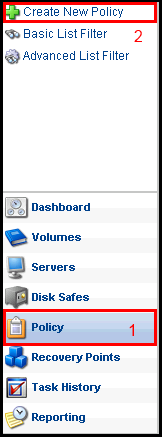
"Create New Policy" Window will open that contains the following tabs:
- Policy Settings
- Data Retention
- File Excludes
- Advanced Excludes
- SQL Server
- Exchange
- MySQL
- Advanced Policy Settings
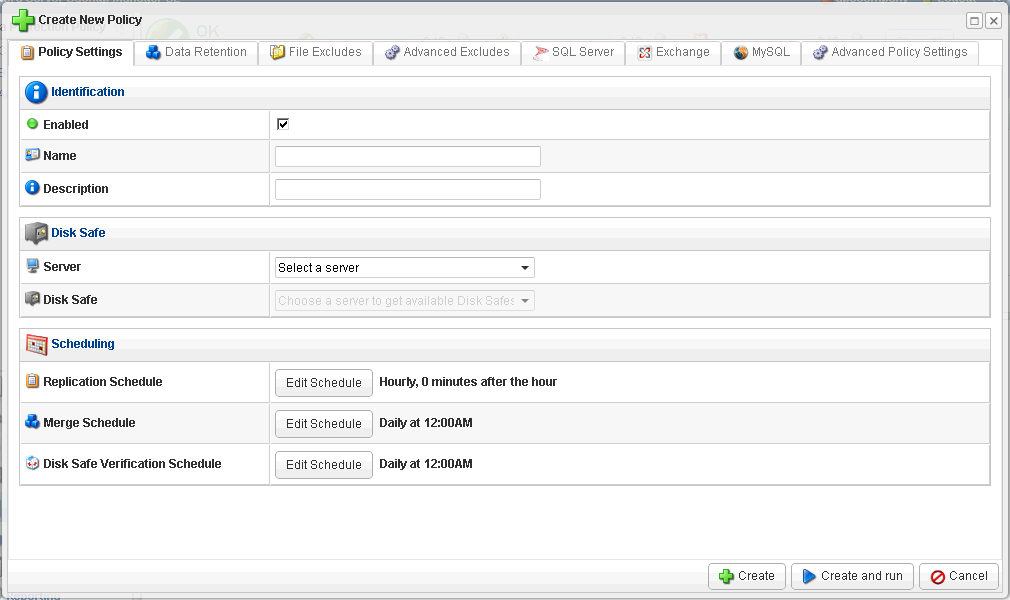
The next step you will need to define the specific settings to the new policy.
Policy Settings tab
Identification
- Enabled - Select this checkbox to enable this policy. This enables the policy to run according to the schedule
- Name - Give a name to identify this policy among others in the Policy list.
- Description - Describe your policy in detail.
- Server - Pick a server whose data you would like to associate with this policy from the dropdown menu. After selecting a server, you would be able to select a Disk safe assigned to this server.
- Disk Safe - Select a disk safe in which to save the replicated data from the dropdown menu.
- Replication Schedule - Define the frequency and the start time for the policy. The frequency settings are On Demand, Hourly, Daily, Weekly, Monthly or Yearly.
- Merge Schedule - Define the frequnecy and start time for merging recovery points. The available settings are after successful replication, hourly, daily, or weekly.
- Disk Safe Verification Schedule - Define the frequency and start time for Disk Safe verification. The settings are On Demand, Daily, Weekly or Monthly.
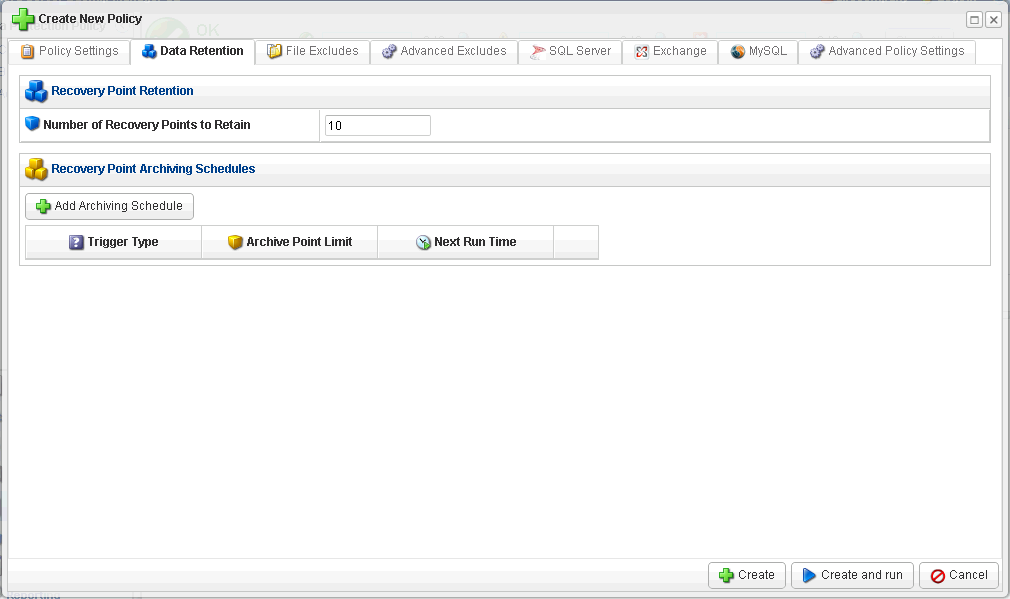
On this tab, you can set the Recovery Points Limit for this policy. You may also create an Archiving schedule for your recovery points.
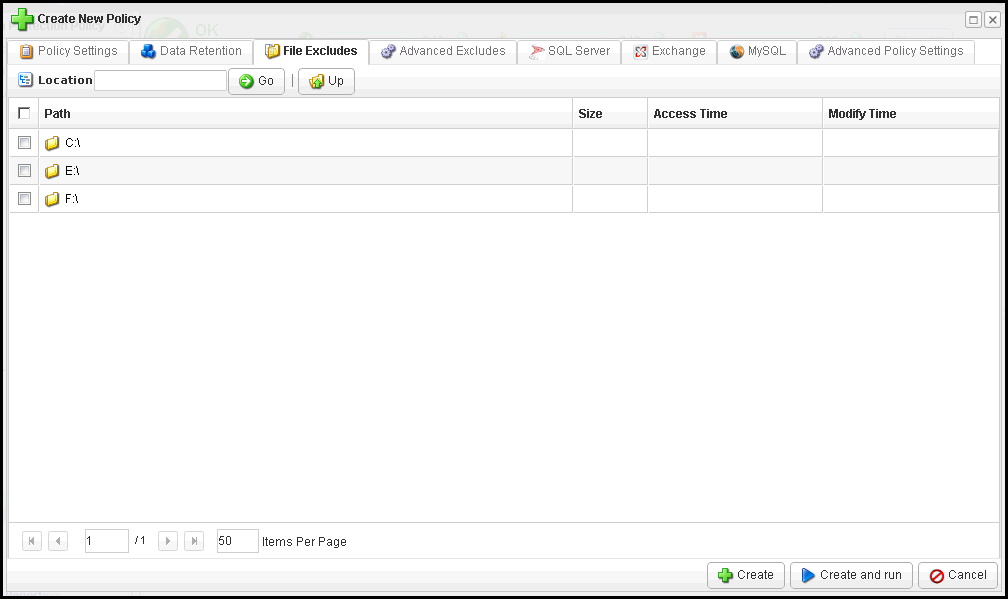
This tab allows you to manually exclude files and folders from the replication. See Excluding Files for more details.
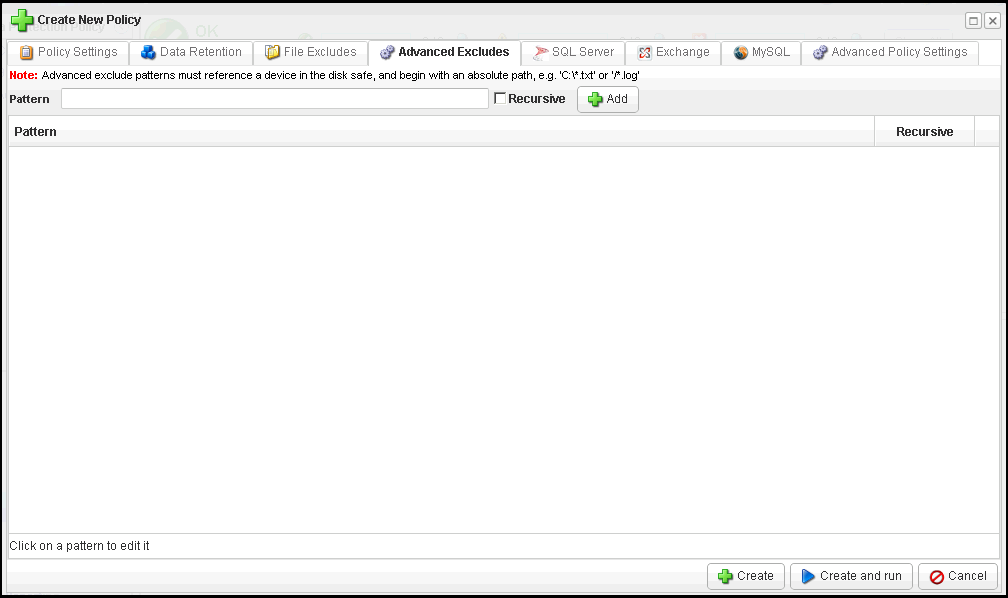
This tab allows to define a pattern or a mask to exclude files from the replication.
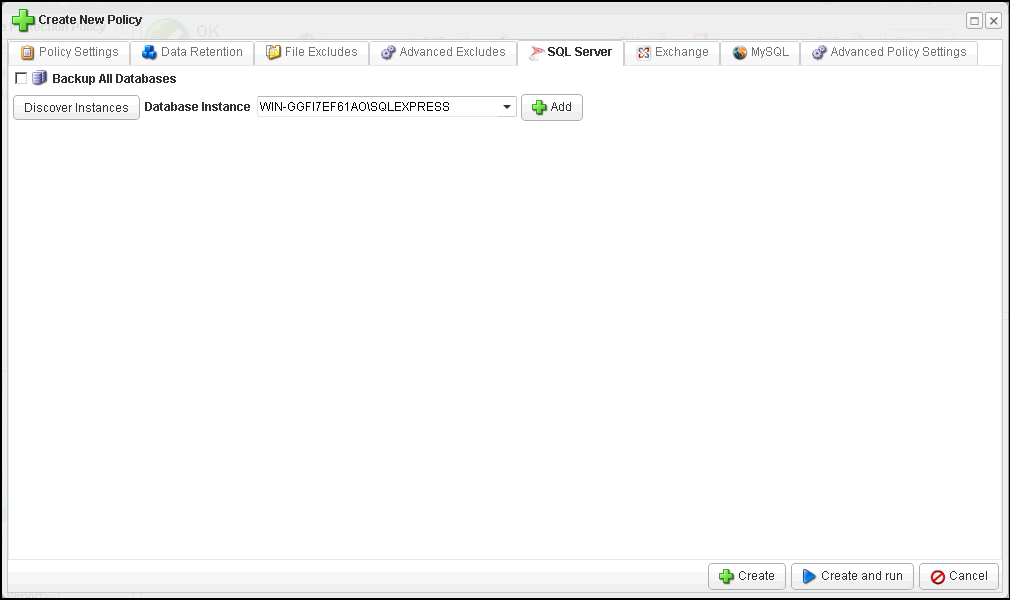
This tab allows you to add SQL Server database instances to the policy
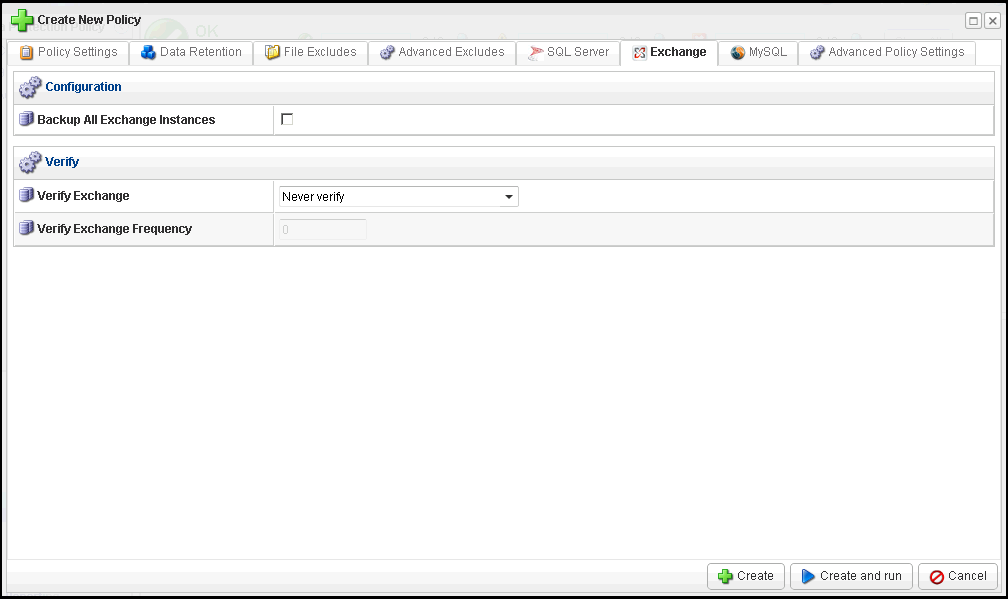
This tab allows you to configure an Exchange instance for the policy.
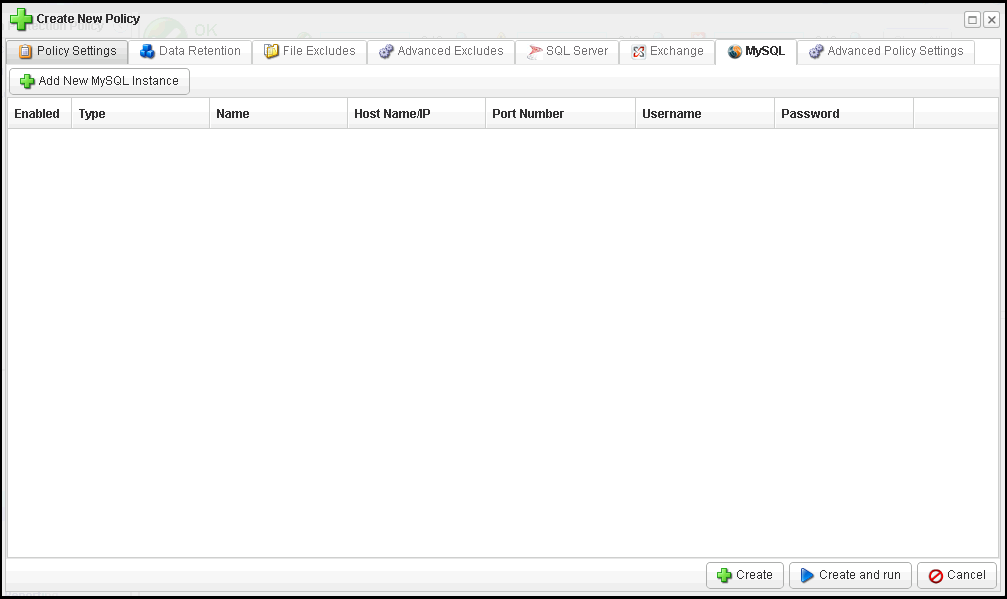
This tab allows you to add MySQL instance to the policy.
This tab contains a few additional parameters you may apply to this policy.
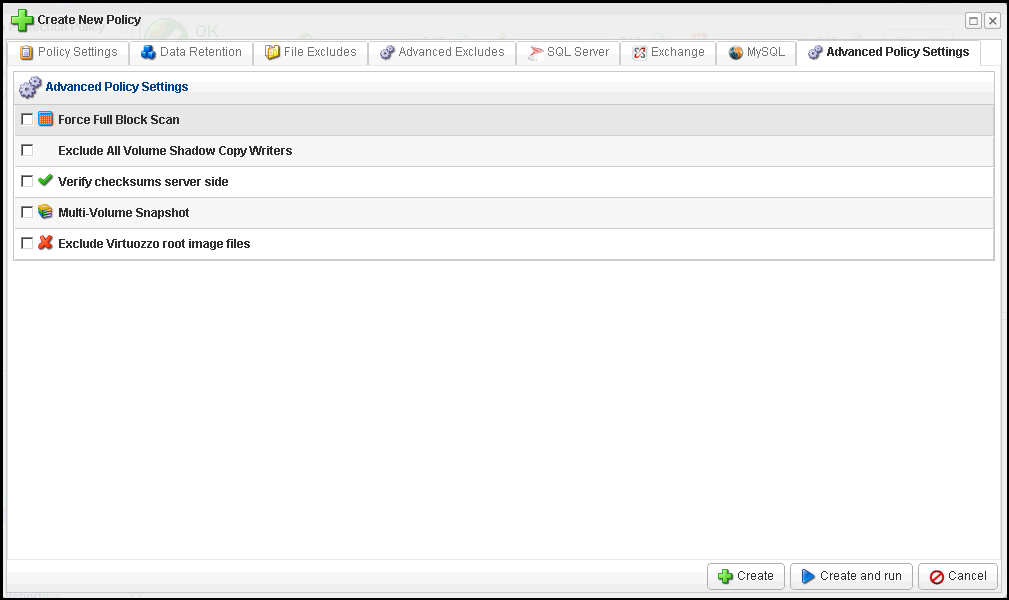
- Force Full Block Scan - Optionally check this option enable the start of a full block scan each time the replication is performed. If this option is not selected, then an automatic full block scan occurs only under certain conditions. A full black scan compares the MD5 sum of all alloated blocks to perform the backup and synchronize server backup. For more detail, you may refer to Idera's 3 Stages of CDP 3 Replication.
- Exclude all Volume Shadow Copy Writers - Check this option if you temporarily want to exclude the Exchange and SQL server databases from being backed up.
- Verify checksums server side - Optionally check this option to ensure that no data is lost during transporting. If this option is activated, then the server side uncompresses the data, unencrypts it if needed, and compare block packet MD5 with data sent from the server. Verifying encrypted or unencrypted block checksums on server backup allows you to triple-check the integrity of a backup.
- Multi-Volume Snapshot - This option can be useful if the MS SQL Server or MS Exchange Server has files across more than one device. The check-box is hidden on Linux
- Exclude Virtuozzo root image files - Optionally enable this option to exclude the Virtuozzo root image files from backing up.
You may also click [CREATE AND RUN] button to add this policy and run it immediately.
Related Articles
No related articles were found.Attachments
No attachments were found.Article Details
Last Updated
30th of August, 2013


 The article has been updated successfully.
