Recovering data for your server
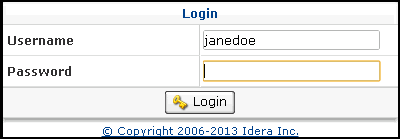
This tutorial assumes that you have followed the previous tutorial "Protecting your first server" to back up your first server. This tutorial would show you how to restore your server from previous backup1. To begin, sign into Backup manager with the ip address or url provided by In2net in your web browser.
In In2net backup solution, recovery points are different versions of your server backups.
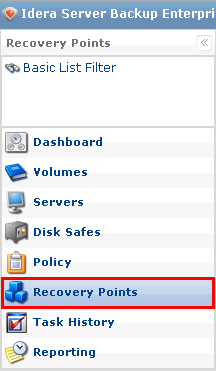
To access the list of recovery points, click on "Recovery Points" in the menu.
On the right pane, select your server from "Server" dropdown box. This would display the list of recovery points for your server.
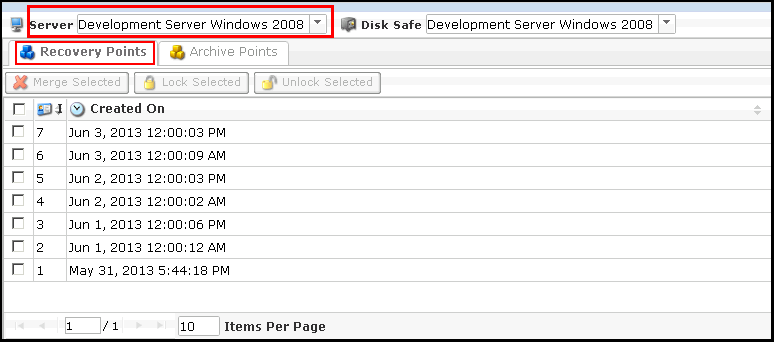
Say, we would like to select the 5th recovery point for restoring our server's data. Click on the icon shown below.
If you have added encryption to your server backup, you would need to enter the same passphrase here. If you did not encrypt your backup, you can skip the following screen.
Click [OK] button when done.

A recovery point lets you restore the whole partition, restore a selected file or even download selected file(s).
In this tutorial, we would like to restore the E drive, so click on the "Restore" icon circled below.

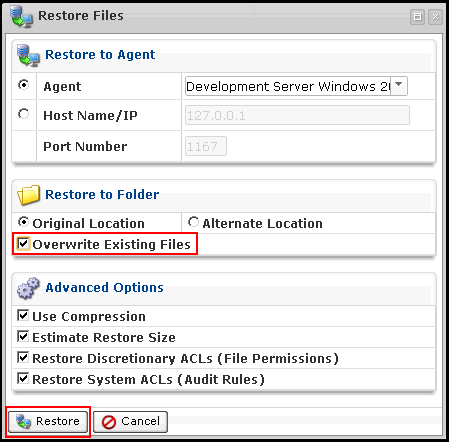
Clicking on the "Restore" icon above would display "Restore Files" dialog box. Normally, you do not need to change any of the following settings.
However, it would be nice to have all files overwritten as some files may be locked up by the operating system, click on "Overwrite Existing Files" checkbox as follows.
To start the recovery process, click [RESTORE] button.
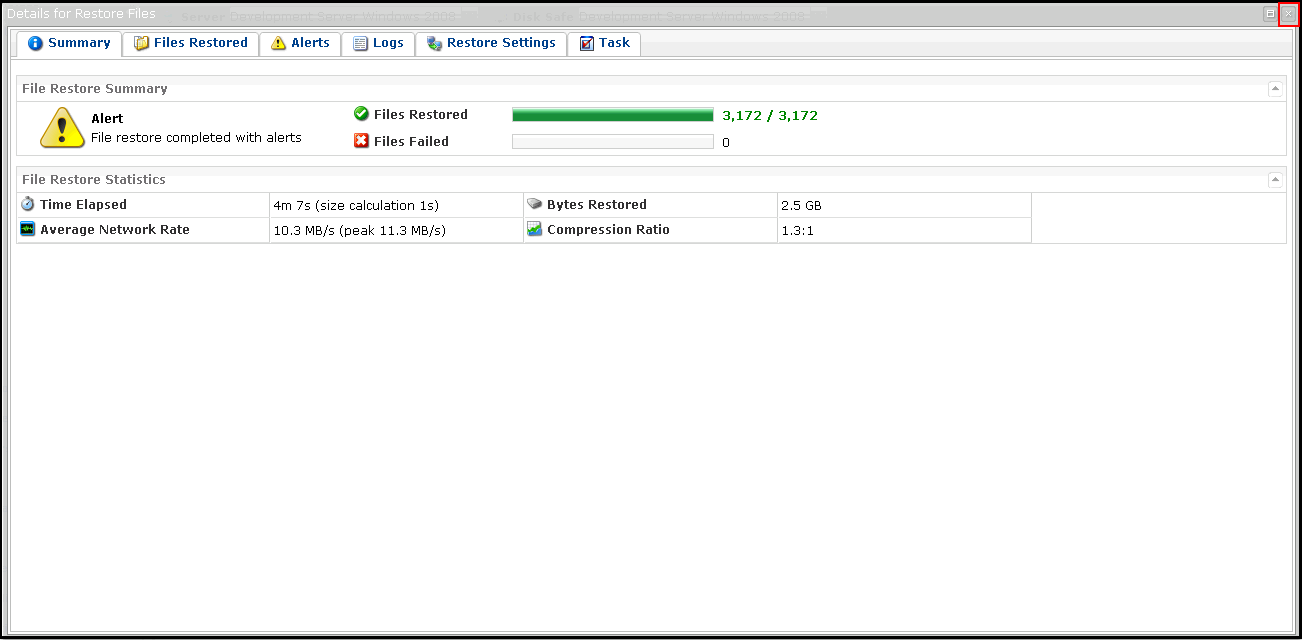
A status window will appear to give you the status of your server recovery. There are other tabs in this dialog window which gives you additional details about your restoration progress.
Closing this window will not interrupt your server recovery.
Related Articles
No related articles were found.Attachments
No attachments were found.Article Details
Last Updated
17th of September, 2013


 The article has been updated successfully.
