Scheduling email reporting
1. To schedule the emailing of a report, click on "Reporting" in the main menu.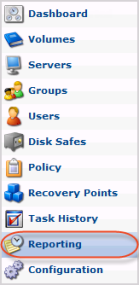
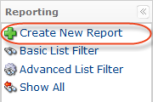
2. Click "Create New Report" in the Reporting menu in the top left of the window.
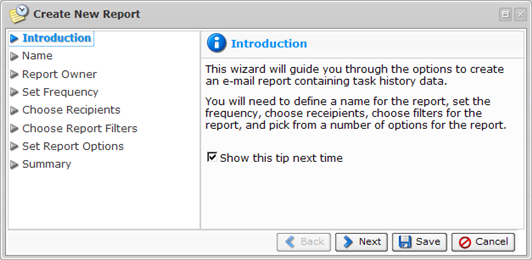
3. "Create New Report" window opens. Click [Next] button.
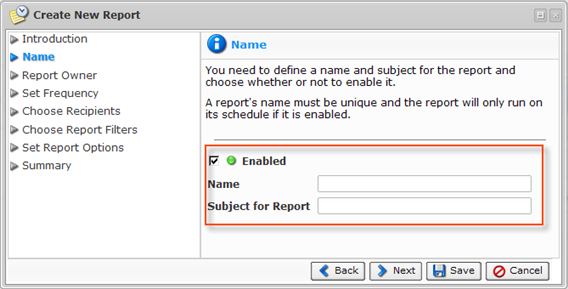
4. Define a name and a subject for the report and choose whether or not to enable the report. A report's name must be unique and the report will only run on its schedule if it is enabled. Click [Next] button when done.
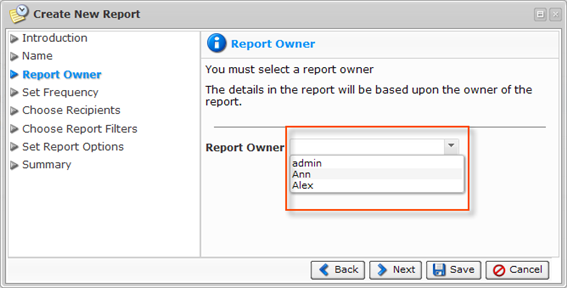
5. On the next screen, select a report owner from the list.
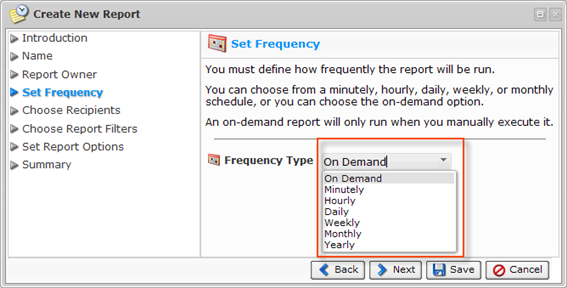
6. On the next screen, define how frequently the report will be run. You can choose from the next options:
- On-demand report - Run when you manually execute it.
- Minutely report - Defines the period in minutes of report execution. The report will run every X minutes. X can be a value in minutes between 0 and 59.
- Hourly report - Defines the starting minute of the report. Select the start time (minutes after the hour) the report should run.
- Daily report - Defines the starting minute and day hours of report execution. Specify the start time in hours and minutes.
- Weekly report - Defines the start time in hours and minutes and days of week of report execution. Specify the start time in hours and minutes and select one (1) or more week days for the report to run.
- Monthly report - Defines the start time in hours and minutes and days of month of report execution. Specify the start time in hours and minutes and select which day of the month the report should run (1st to 31st).
- Yearly report - Defines the start time in hours and minutes, days of month, and months of year of report execution. Specify the start time in hours and minutes, which day of the month the report should run (1st to 31st), and select one (1) or more months for the report to run.
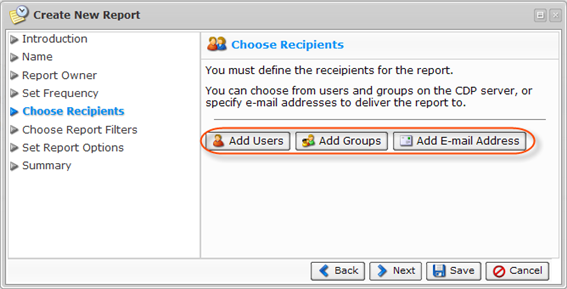
7. On the next screen, define the recipients for the report. You can choose from users and groups on the Backup Manager, or specify email addresses to deliver the report to. Click [Next] when you are done.
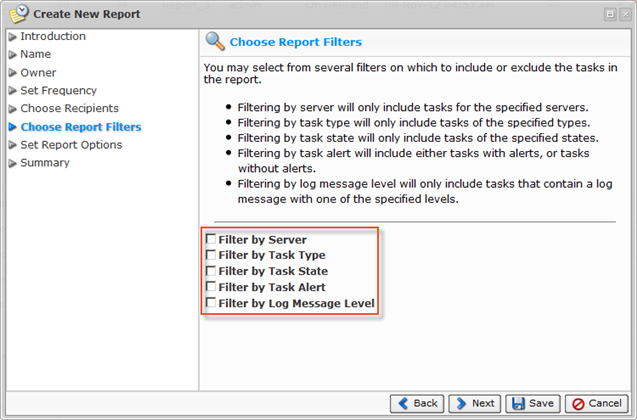
8. On the next screen, select from several filters on which to include the tasks in the report. Once again, click [NEXT] button when finished your selection.
- Filtering by Server - Selecting this option will include tasks for the specified Servers.
- Filtering by Task Type - Selecting this option will include tasks of the specified types.
- Filtering by Task State - Selecting this option will include tasks of the specified states.
- Filtering by Task Alert - Selecting this option will include either tasks with alerts, or tasks without alerts.
- Filtering by Log Message Level - Selecting this option will include tasks that contain a log message with one of the specified levels.
8.1. Choose Servers
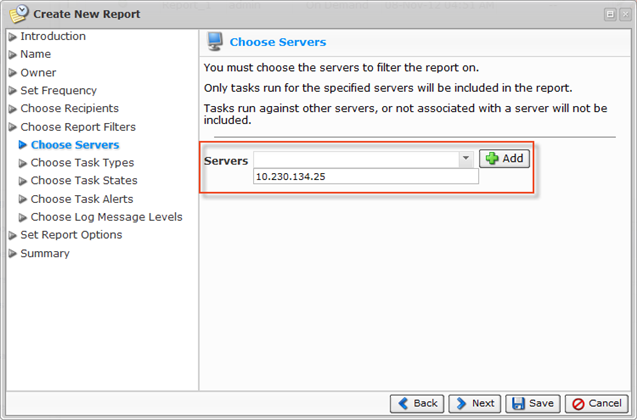
If you have selected the "Filter by Server" option in Step 9, then the "Choose Servers" screen will appear. From the drop-down menu, select a Server name and click "Add." Add as many Servers as you need. The Email Report will contain data about Tasks which concern the selected Servers. Tasks run against other Servers or not associated with a Server will not be included.
8.2 Choose Task Types
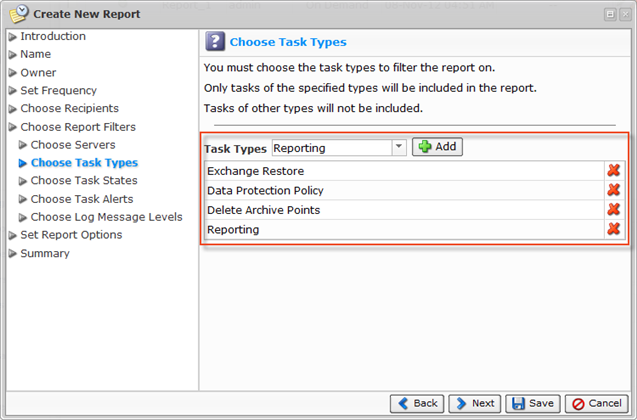
If you have selected the "Filter by Task Type" option in Step 9, then the "Choose Task Types" screen will appear. From the drop-down menu, select a Task Type and click "Add." The following Task Types can be selected:
- Archive Recovery Points
- Bare Metal Restore
- Data Protection Policy
- Database Restore
- Delete Archive Points
- Exchange Restore
- Merge Recovery Points
- Reporting
- Restore Control Panel User Data
- Restore Files
- Task History Clean-up
- Vacuum
The added Task Types will appear in the list. The Email Report will contain information only about the specified Task Types.
Click [NEXT] button when done.
8.3 Choose Task States
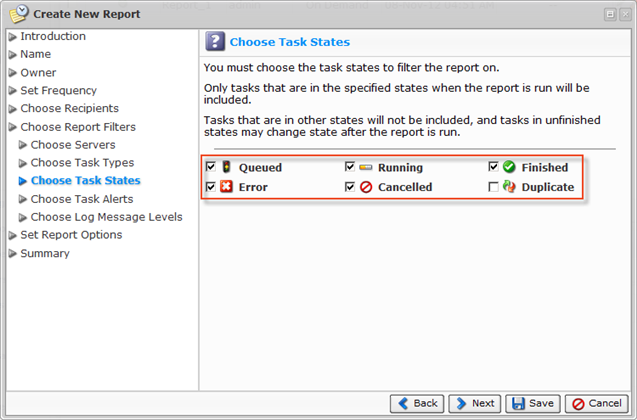
If you have selected the "Filter by Task State" option in Step 9, then the "Choose Task States" screen will appear. Select the checkboxes in front of the Task States to include in the Email Report. The following States can be selected:
- Queued
- Running
- Finished
- Error
- Cancelled
- Duplicate
Only tasks that are in the specified states when the report is run will be included. Tasks that are in other states will not be included, and tasks in unfinished states may change state after the report is run.
8.4 Choose Task Alerts
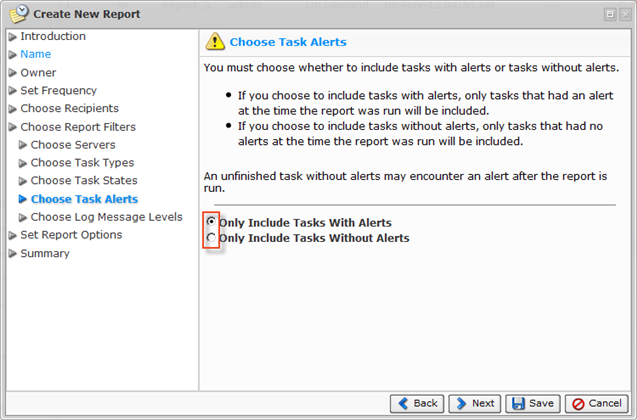
If you have selected the "Filter by Task Alert" option in Step 9, then the "Choose Task Alerts" screen will appear. On this screen, choose whether to include tasks with alerts or tasks without alerts:
- Only Include Tasks with Alerts - If you choose to include tasks with alerts, only tasks that had an alert at the time the report was run will be included.
- Only Include Tasks without Alerts - If you choose to include tasks without alerts, only tasks that had no alerts at the time the report was run will be included. An unfinished task without alerts may encounter an alert after the report is run.
8.5 Choose Log Message Levels
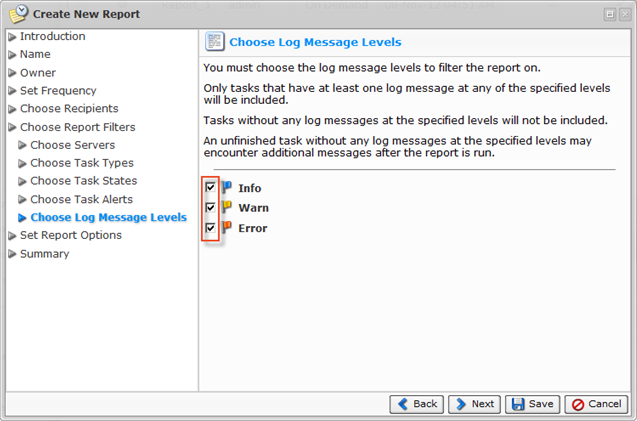
If you have selected the "Filter by Log Message Level" option in Step 9, then the "Choose Log Message Levels" screen will appear. Select the checkboxes in front of the Log Message Levels to include in the Email Reporting. You can select the following:
- Info
- Warn
- Error
Only tasks that have at least one log message at any of the specified levels will be included. Tasks without any log messages at the specified levels will not be included. An unfinished task without any log messages at the specified levels may encounter additional messages after the report is run.
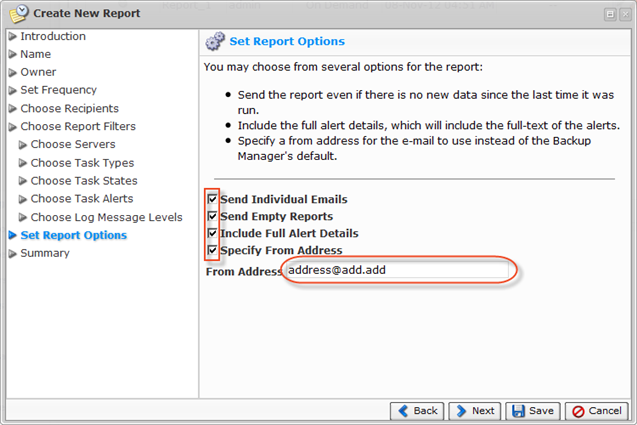
9. On the next screen, select the checkboxes in front of the options you want to activate:
- Send Empty Reports - Send the report even if there is no new data since the last time it was run.
- Include Full Alert Details - Include the full alert details, which will include the full-text of the alerts and their associated log messages.
- Specify From Address - Specify a from address for the email instead of the Backup Manager's default.
10. The next screen provides a short summary of the newly created report. Click [SAVE] button to add your report to the system.
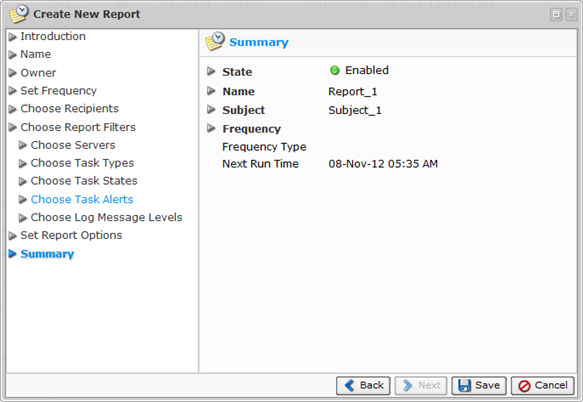
11 A message will appear to confirm the creation of the report.

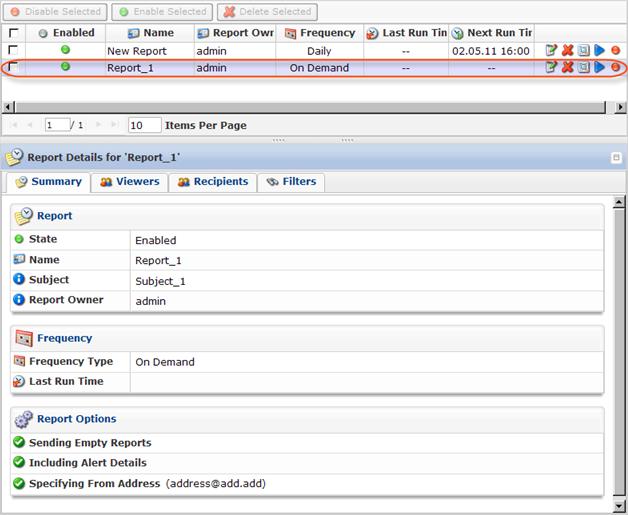
12. You should find your "Reporting" task in the Report list.
Related Articles
No related articles were found.Attachments
No attachments were found.Article Details
Last Updated
30th of August, 2013


 The article has been updated successfully.
